個人是使用Let’s Encrypt。
sudo apt-get update
sudo apt-get upgrade

git clone https://github.com/certbot/certbot.git
cd certbot
./certbot-auto

#如果你的ssl沒有打開,就執行一下下列指令,通常已經打開
sudo a2enmod ssl
sudo service apache2 restart
跑完上述指令後,會出現一些程式要求你輸入一些資料,包含email、網域..等等,照著輸入即可。
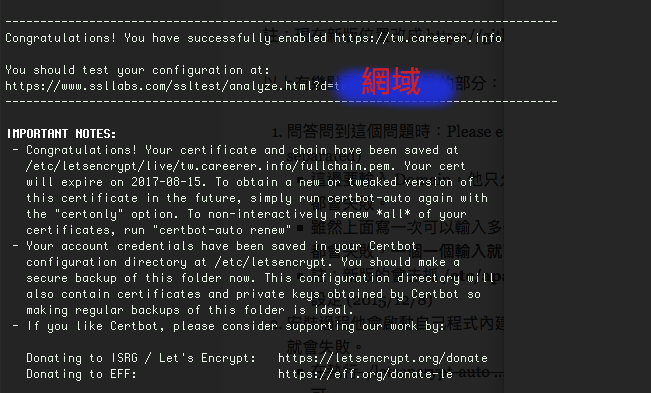
全部輸入完,就會出現下述訊息:
之後會產生key、憑證,路徑如下:
/etc/letsencrypt/archive/domain-name
另外還有一個路徑指向在live目錄裡,其實是軟連結裡面的檔案到archive裡面
/etc/letsencrypt/live/domain-name
接下來進到/etc/apache2/sites-available/
會發現多了000-default-le-ssl.conf這個檔案,裡面已經設定好一些SSL的連線資訊:
SSLCertificateFile /etc/letsencrypt/live/domain-name/cert.pem
SSLCertificateKeyFile /etc/letsencrypt/live/domain-name/privkey.pem
Include /etc/letsencrypt/options-ssl-apache.conf
SSLCertificateChainFile /etc/letsencrypt/live/domain-name/chain.pem
另外000-default.conf檔案也增加了rewrite rule
RewriteEngine on
RewriteCond %{SERVER_NAME} =domain-name
RewriteRule ^ https://%{SERVER_NAME}%{REQUEST_URI} [END,NE,R=permanent]
不過因為憑證三個月會到齊,所以之後要記得跑指令
cd /certbot
./certbot-auto renew
如果想省掉這件事,那就設一下crontab吧。
例外,如果要看憑證有效期間,可以輸入以下指令:
echo | openssl s_client -connect <you server here>:443 2>/dev/null | openssl x509 -noout -dates
之後上這個網址測試一下:
https://www.ssllabs.com/ssltest/analyze.html?d=domain-name
如果上述測試都沒問題,接下來就是最後一步。
由於wordpress會有不少連結,沒有進行加密的ssl連線。我自己是安裝一個外掛Really Simple SSL。安裝完啟動之後,它就會幫你處理網站全部的連結。
然後記得要去設定->一般選項裡,把網址都改成https。
安裝完這個外掛,再打開一下網址,網址列應該都是顯示安全的鎖頭了,不會再有驚嘆號的圖示。
這時應該可以打開網址 https://domain-name, 應該全部ok了!
參考文章與網址:
1.Let’s Encrypt 的 SSL 憑證安裝
2.https://letsencrypt.org/
3.Fix Non-SSL Elements on SSL Page
4.https://www.ssllabs.com/ssltest/
5.https://github.com/certbot/certbot
6.Welcome to the Certbot documentation!
7.It there a command to show how many days certificate you have?
