php deployer:ssh2_auth_pubkey_file()
最近安裝deployer這套工具,遇到了以下問題:
ssh2_auth_pubkey_file(): Authentication failed for xxxx using public key: Username/PublicKey combination invalid
解法:
cat ~/.ssh/id_rsa.pub >> ~/.ssh/authorized_keys2
最近安裝deployer這套工具,遇到了以下問題:
ssh2_auth_pubkey_file(): Authentication failed for xxxx using public key: Username/PublicKey combination invalid
解法:
cat ~/.ssh/id_rsa.pub >> ~/.ssh/authorized_keys2
最近在安裝deployer這套deploy工具,遇到了這個問題:
Could not open a connection to your authentication agent.
解法:
#在家目錄底下輸入以下
eval `ssh-agent -s`
ssh-add
最近要安裝php deployer來deploy,碰到需要用composer裝”herzult/php-ssh”:”1.1.1″ ,而裝這個又需要安裝php5-ssh2。
在ubuntu 14.0上安裝php5-ssh2步驟如下:
sudo apt-get install php5-ssh2
sudo service apache2 restart
目前有下面三種可以選:
General Purpose (SSD), Provisioned IOPS (SSD) or Magnetic。可以選第一個玩玩看,記得avalibility zone要選EC2的那區。
這直接在aws console操作即可。
先輸入:
lsblk
這是看你EC2上的volum的mount狀況,可能會顯示如下:
NAME    MAJ:MIN RM   SIZE RO TYPE MOUNTPOINT
xvda    202:0    0    16G  0 disk
└─xvda1 202:1    0    16G  0 part /
xvdf    202:80   0   100G  0 disk
這代表剛剛attach 近來的ebs xvdf還沒有mount進來。
輸入:
sudo file -s /dev/xvdf
#如果有輸出該EBS的filesystem的訊息,表示不需要再格式化,如果沒有,那就要格式化
輸入:
sudo mkfs -t ext4 /dev/xvdf
#格式化

sudo mkdir mount_point
#看你想要mount到哪個目錄,就新增一個吧

sudo mount device_name mount_point
#mount進去
基本上,上述指令完成後,應該大功告成,不過如果想要每次開機,都能讓EBS自動mount到EC2,還需要做一些事:
sudo cp /etc/fstab /etc/fstab.orig
#預防出事,先備份/etc/fstab這個檔案
/dev/xvdf       /mount_point   ext4    defaults,nofail        0       2
#將上述這行,加入/et/fstab,/mount_point就是你剛剛mount進去的那個目錄

#最後確認一下
sudo mount -a
#如果沒有跑出任何錯誤訊息,基本上就是成功了。

#如果過程中,很不幸的你出事了,就把剛剛備份的檔案複製回去即可:
sudo mv /etc/fstab.orig /etc/fstab

最後,如果要卸載EBS,輸入以下指令即可:
sudo umount divice_name mount_point
參考文章:
ebs-creating-volume
Attaching an Amazon EBS Volume to an Instance
Making an Amazon EBS Volume Available for Use
先按一下「Esc」,然後輸入:
:1,$s/123/456/g
再按「Enter」即可!
此範例是將文字123更換成文字456,並且將此文件裡的所有符合的皆取代。
1,$ 指的就是從頭至尾。
參考:來源
PHP 5.6 on Ubuntu 14
apt-get -y update
add-apt-repository ppa:ondrej/php5-5.6
apt-get -y update
apt-get -y install php5 php5-mhash php5-mcrypt php5-curl php5-cli php5-mysql php5-gd php5-intl php5-xsl php5-bcmath
參考文章:PHP 5.6 on Ubuntu 14
使用EC2時,會發現disk space會逐漸越來越小,即便你將所有log都刪除,你會發現用du指令去查每個目錄空間使用狀況,可用空間仍然越來越小:
例如:
du -sh /* | sort -rn | head -25
du -sm /* | sort -rn | head -25
#以上指令是查詢根目錄下每個目錄前25個的空間大小
這時有兩個解法:
因為就像swap一樣,你的某些空間無法被釋放,像是暫存檔一樣,重新開機可以解決這個問題。
步驟大概是這樣:
1)將EBS卸載
2)卸載後將EBS快照(snapshot)
3)用snapshot開新的EBS,然後將空間加大
4)將EBS加回原本的EC2
參考文章:
1. https://www.orztw.com/2014/06/linux-command-du.html#prettyPhoto
2. http://askubuntu.com/questions/118094/not-enough-disk-space-in-aws-instance
有些網站只能用IE看,用Safari開IE ONLY網站,步驟如下ㄤ
step1.打開safari
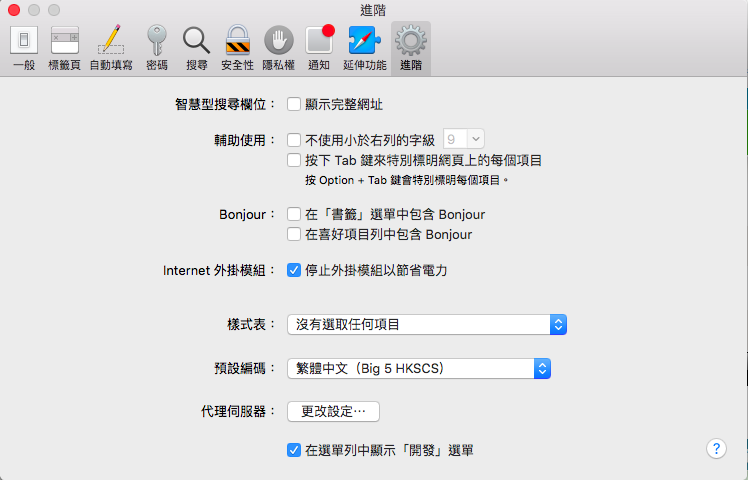
step2.打開偏好設定
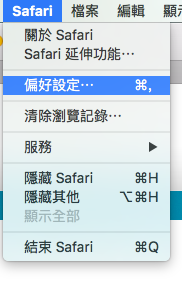
step3.點選進階,將「在選單中顯示開發選項」打勾。
step4.使用代理程式
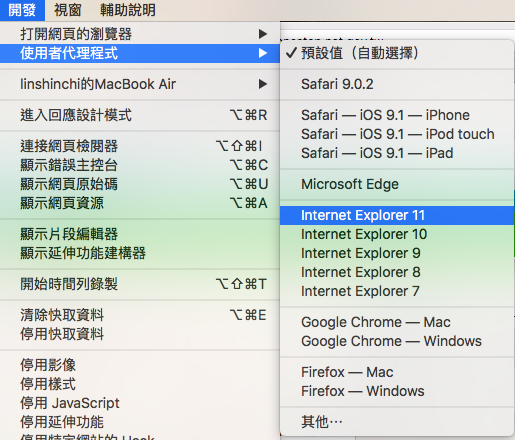
這時應該可以在上面選項找到「開發」->「使用者代理程式」->[IE…]
參考文章:點此。
指令如下:
sudo dpkg-reconfigure tzdata
實際上它是修改以下兩個檔案:
/etc/timezone
/etc/localtime
參考文章:
http://askubuntu.com/questions/117359/how-do-i-change-the-timezone-to-utc
官方訊息如下:
warning: push.default is unset; its implicit value is changing in
Git 2.0 from ‘matching’ to ‘simple’. To squelch this message
and maintain the current behavior after the default changes, use:
git config --global push.default matching
To squelch this message and adopt the new behavior now, use:
git config --global push.default simple
When push.default is set to ‘matching’, git will push local branches
to the remote branches that already exist with the same name.
In Git 2.0, Git will default to the more conservative ‘simple’
behavior, which only pushes the current branch to the corresponding
remote branch that ‘git pull’ uses to update the current branch.
See ‘git help config’ and search for ‘push.default’ for further information.
(the ‘simple’ mode was introduced in Git 1.7.11. Use the similar mode
‘current’ instead of ‘simple’ if you sometimes use older versions of Git)
換句話說,在Git 2.0,若將push.default設為matching,則在push時將所有local branch的變動,推上遠端branch,若設為simple,則只會推當前的branch的變動,至遠端branch。